How To Shave Down There & Prevent Shaving Rash
How do you shave ‘down there’? Should you shave before or after a shower? How do you prevent shaving rash?
If you don’t know the answer to these questions, keep reading. Our step-by-step guide to shaving down there will help you get your technique up to scratch and take your ‘everything shower’ to the next level.
BTW, if shaving isn’t your thing, that’s totally fine. We’re not here to tell you what to do - we’re just here to tell you how to do it.
Click below if you’re looking for a specific step - if not, take a scroll and read them all:
- Trim Your Pubic Hair
- Shower Before Shaving
- Take A Warm Shower
- Use Shaving Cream
- Use A Fresh Razor
- Shave In The Direction Of Growth
- Moisturise
- Clean Your Razor
- Prevent Shaving Rash
Ready for the smoothest shave of your life? Let’s get into it…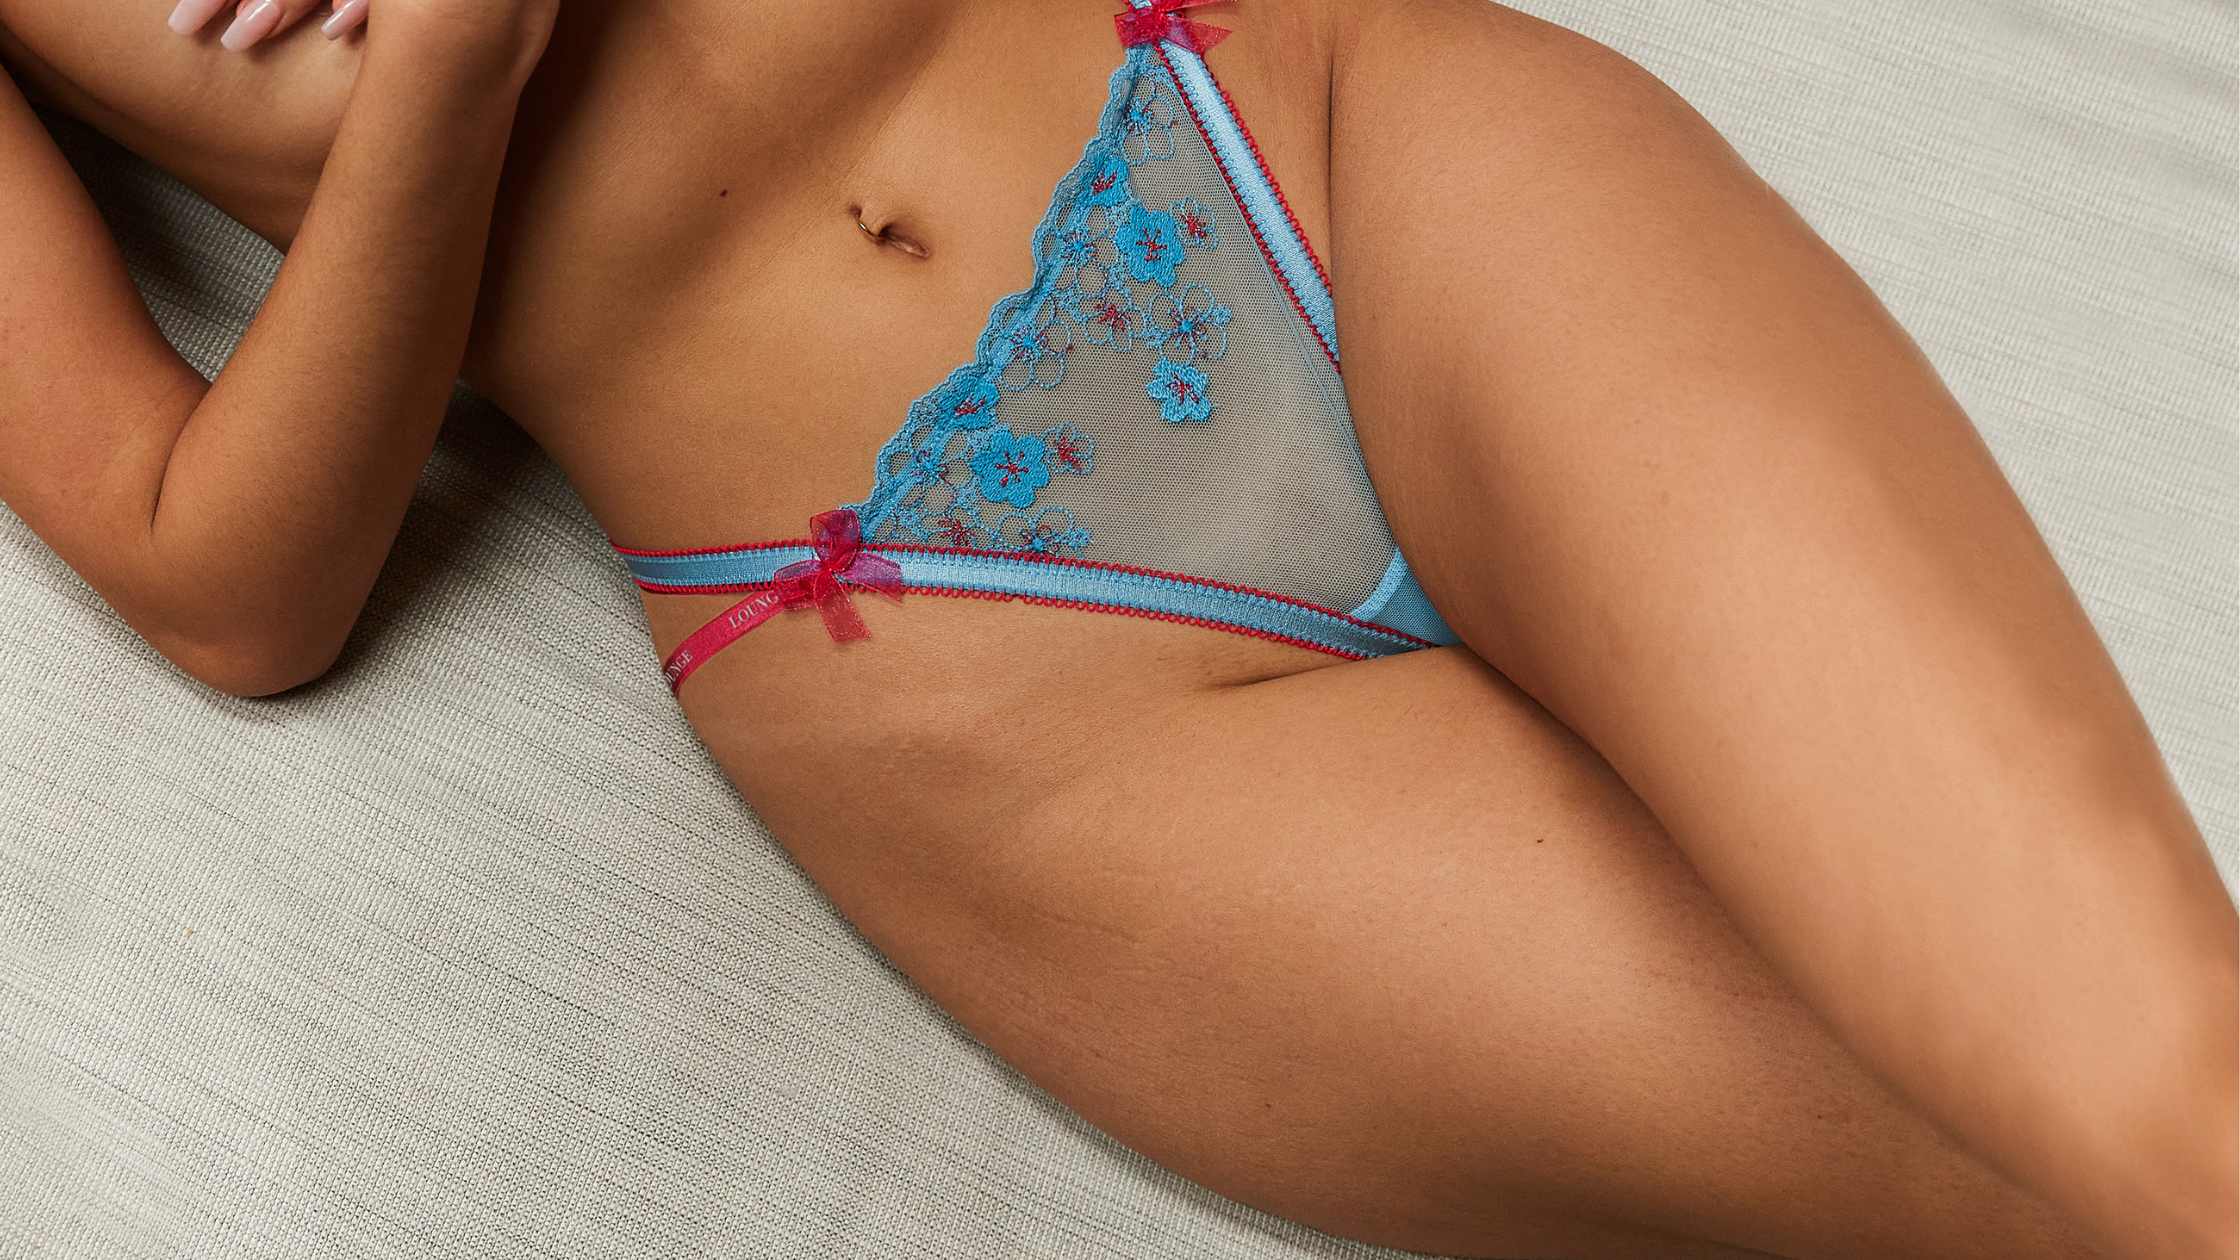
Step 1: Trim Your Pubic Hair
If you don’t shave down there regularly, you might need to trim your hair with a small pair of scissors before you pick up your razor.
Giving your pubic hair a trim before shaving down there will make sure you don’t clog your razor with long hairs, or cause yourself any pain while you shave.
Aside from that, it’ll shave off some time from the main event.
Step 2: Shower Before Shaving
Does anyone actually know if you should shower before or after you shave? Yes. We know. You should.
The steam from a warm shower will open up your pores and will actually make your hair follicles soften slightly - so if you want a pain-free shave, it’s time to get steamy.
While you’re showering, we recommend exfoliating your skin with a gentle scrub to lift the hairs even more.
Step 3: Have A Warm Shower
Not too hot. Not too cold. Juuuuuust right.
Freezing cold water won’t open your pores enough to get the closest, smoothest shave - and boiling hot water will make your skin super-tender and soft, leaving you prone to cuts. So, for the easiest, cleanest shave, channel your inner Goldilocks and find the perfect water temperature.
Wondering whether you should shave in the shower or the bath? The choice is yours.
Step 4: Use Shaving Cream
This step is often forgotten, but always important.
Shaving creams or gels create a layer of protection for your skin, so you can get a closer, more precise shave and avoid damaging your skin. Sounds like a win-win to us.
We recommend using a shaving gel with aloe vera, to keep your skin soothed and calm while you shave.
Step 5: Use a Fresh Razor
See that old, rusty razor you’ve had for months? Put it down. Seriously.
Using a fresh razor isn’t just the most hygienic option, but it’ll also minimize damage to your skin. You definitely don’t want ingrown hairs or razor bumps after you’ve done all that preparation.
A clean, fresh razor is the best way to start figuring out how to shave down there.
Step 6: Shave in the Direction of Growth
You’ve made it! Now it’s time to pick up the razor. All that prep was worth it, we promise.
While you’re shaving down there, try to shave in the same direction that your hair naturally grows. It’ll be so much more comfortable, both while you shave and when your hair regrows. No one wants the awkward itch down there. Trust us.
Take your time - it’s a delicate process, so go slowly and carefully until you get the perfect result.
Step 7: Moisturise
Once you’ve achieved your desired shave down there, it’s time for some proper aftercare.
Moisturise the area thoroughly to soothe and calm your skin. We especially love post-shave lotions with ingredients like aloe vera - it’ll leave your skin feeling smoother than the last pick-up line you heard.
The right moisturiser can also help to avoid ingrown hairs or shaving rash - another win-win!
Step 8: Clean Your Razor
Future you will thank you. We promise.
Keeping your razor clean will mean you’ll get more use out of it, you won’t clog it with hair and you won’t make it blunt straight away. For a two-minute job, that’s a lot of benefits.
Simply run your razor under warm water and shake it gently to ensure all hair is removed.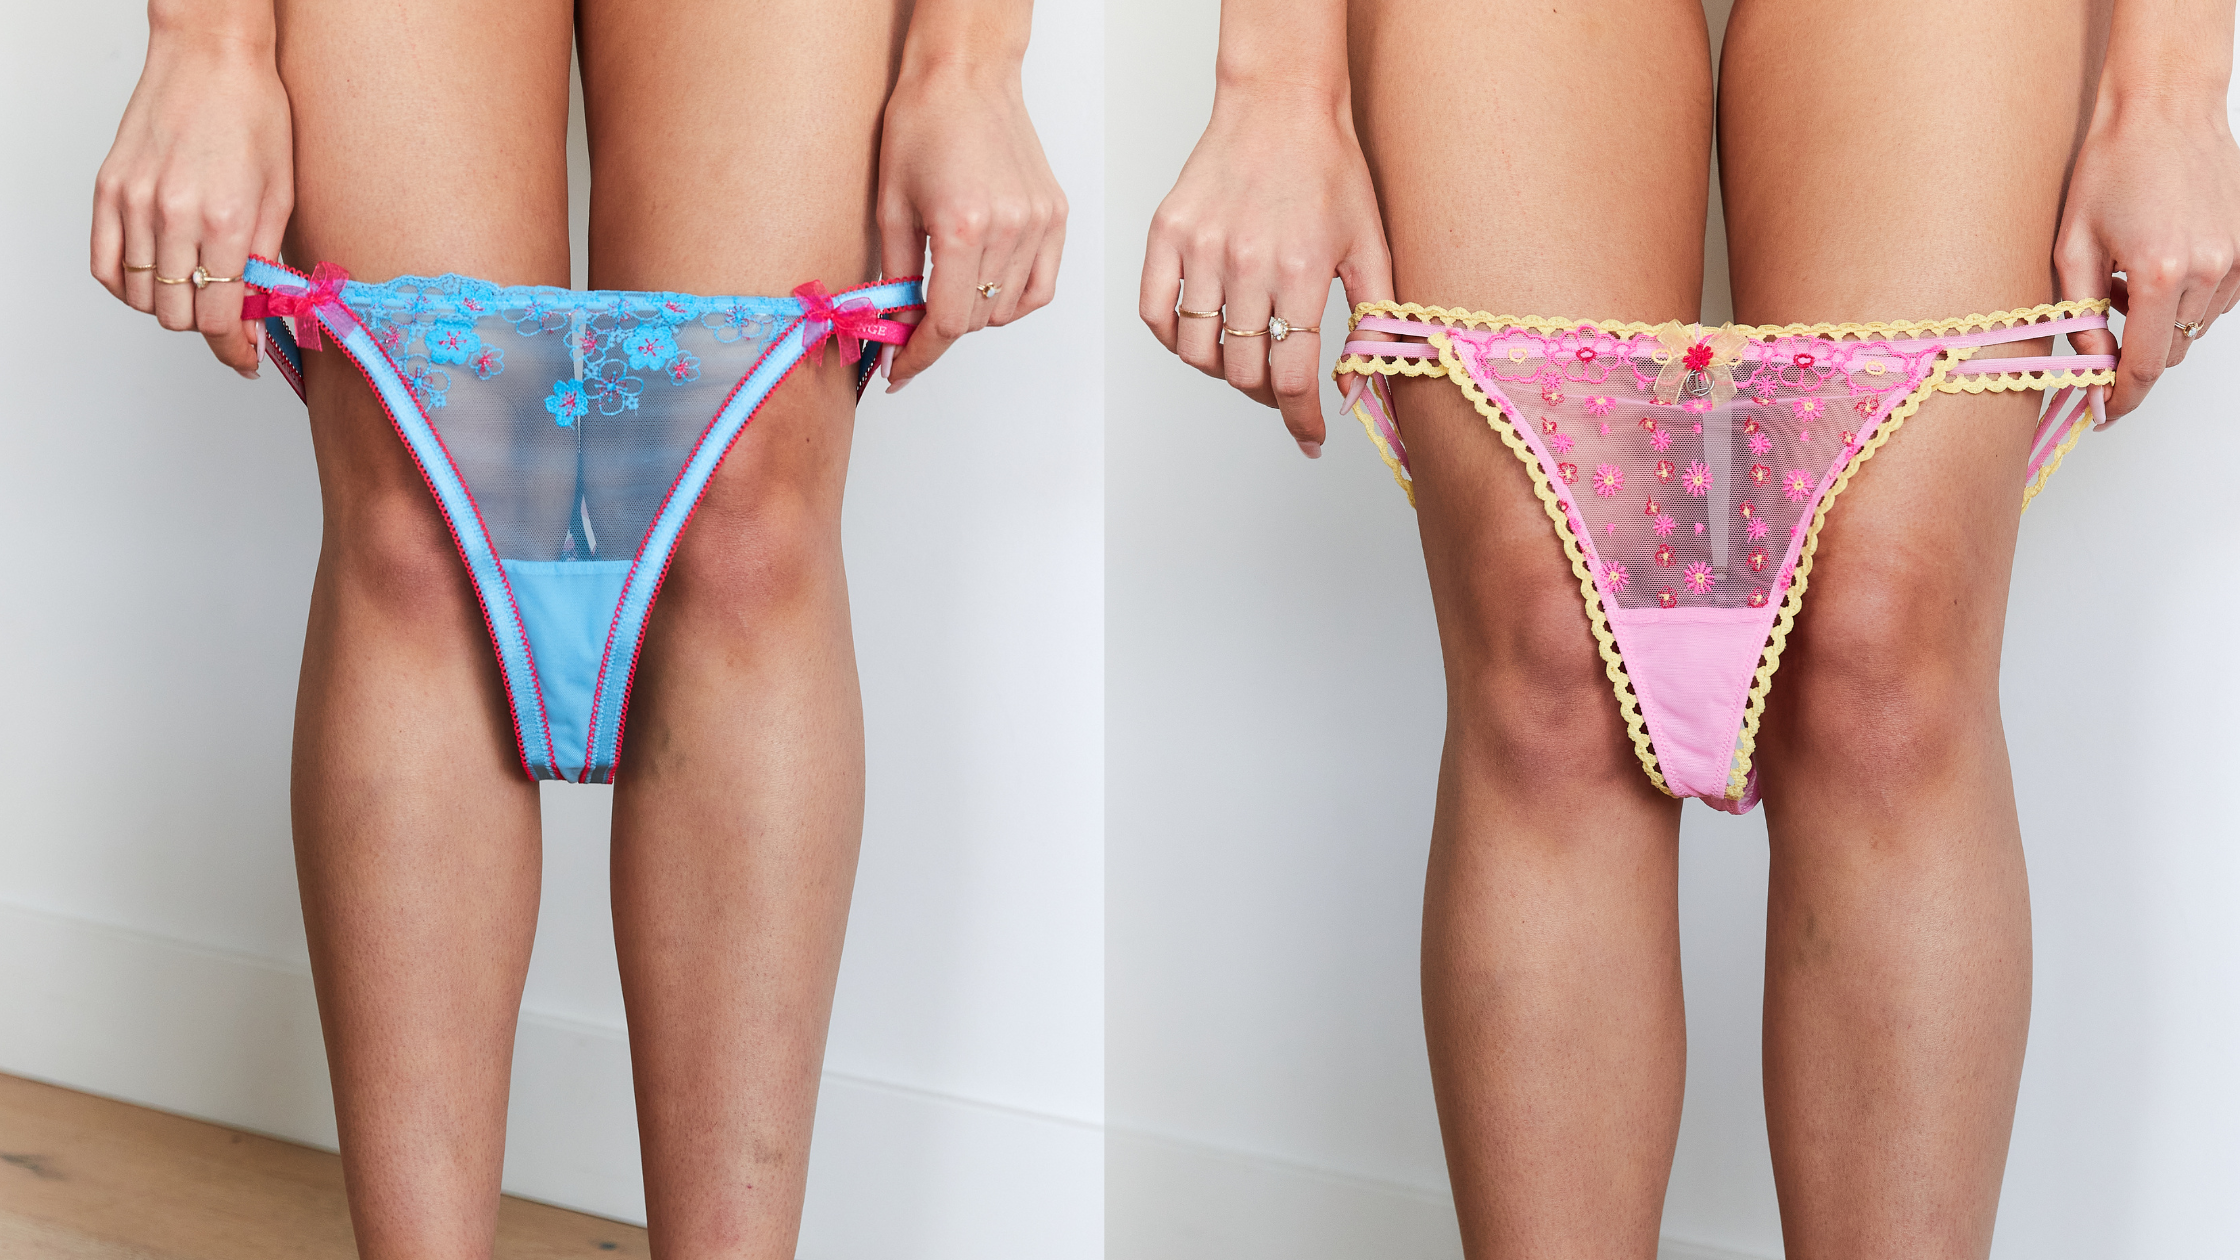
How To Prevent Shaving Rash
Now you’ve got the perfect shaving routine, you might think you’ve avoided the dreaded shaving rash.
Shaving bumps, razor burn, shaving rash - whatever you call it, it’s irritating, itchy and definitely not ideal down there.
It’s easy to prevent razor burn, but if you’re not sure how, we’ve put together our top tips to help you get rid of the rash.
-
Take Your Time
Who doesn’t love an everything shower?
Shaving should be the last step in your shower routine - so make sure you’ve washed your hair, scrubbed your body, exfoliated, sang your heart out and made up 12 imaginary scenarios before you pick up the razor.
Spending at least 5-10 minutes in the shower will help to reduce shaving bumps.
-
Keep It Fresh
If you don’t already know the importance of using a fresh razor, you’ve not been reading this blog properly. 😉
Old, rusty razors are bound to cause bumps - so if you’re wondering how to prevent shaving rash, throw your rusty razor in the trash.
A fresh razor is guaranteed to reduce shaving bumps - you can thank us later.
-
Invest in a Trimmer
If you need to give yourself a trim before you shave but you’re not confident using scissors down there, your best bet will be a trimmer.
Plenty of women’s trimmers are specially designed for your intimate areas, so they’ll reduce the risk of razor burn too.
-
Don’t Do It Dry
If you’ve ever dry shaved, you’ll know why we’re saying this. If you’ve never dry-shaved, please don’t. Ever. Trust us on this one.
Aside from being the most painful and irritating way to shave, it’s more likely to give you ingrown hairs and shaving rash.
It might not be convenient, but make sure you’re somewhere near a bath (or at least a tap) before you shave down there.
-
Stay Away From Fragrance
Remember that scene in Home Alone? You definitely don’t want that pain *down there*.
Scented products are likely to irritate your skin, especially straight after shaving - so it’s always best to choose an unscented shaving cream and moisturiser, just in case.
-
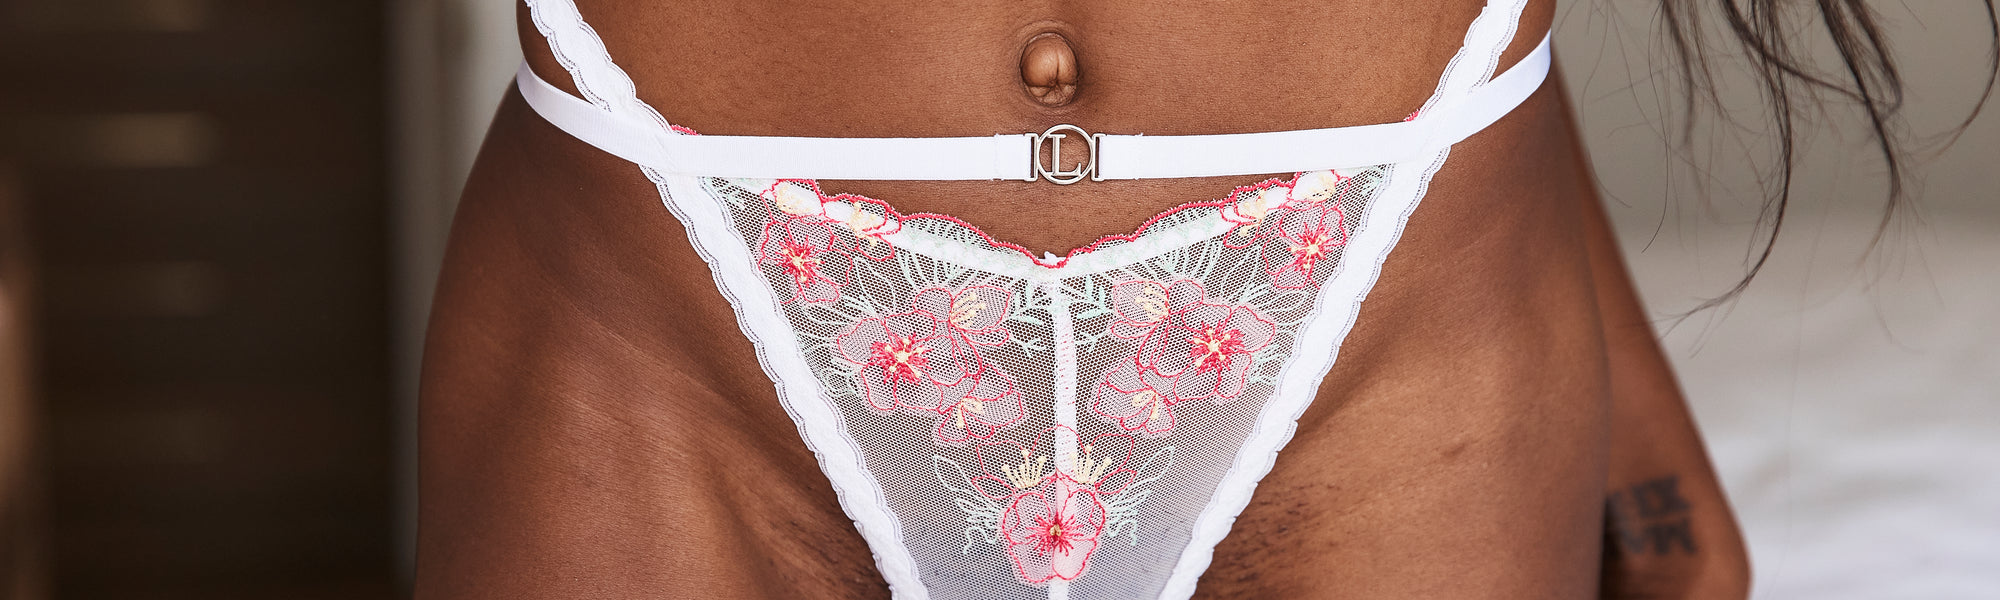
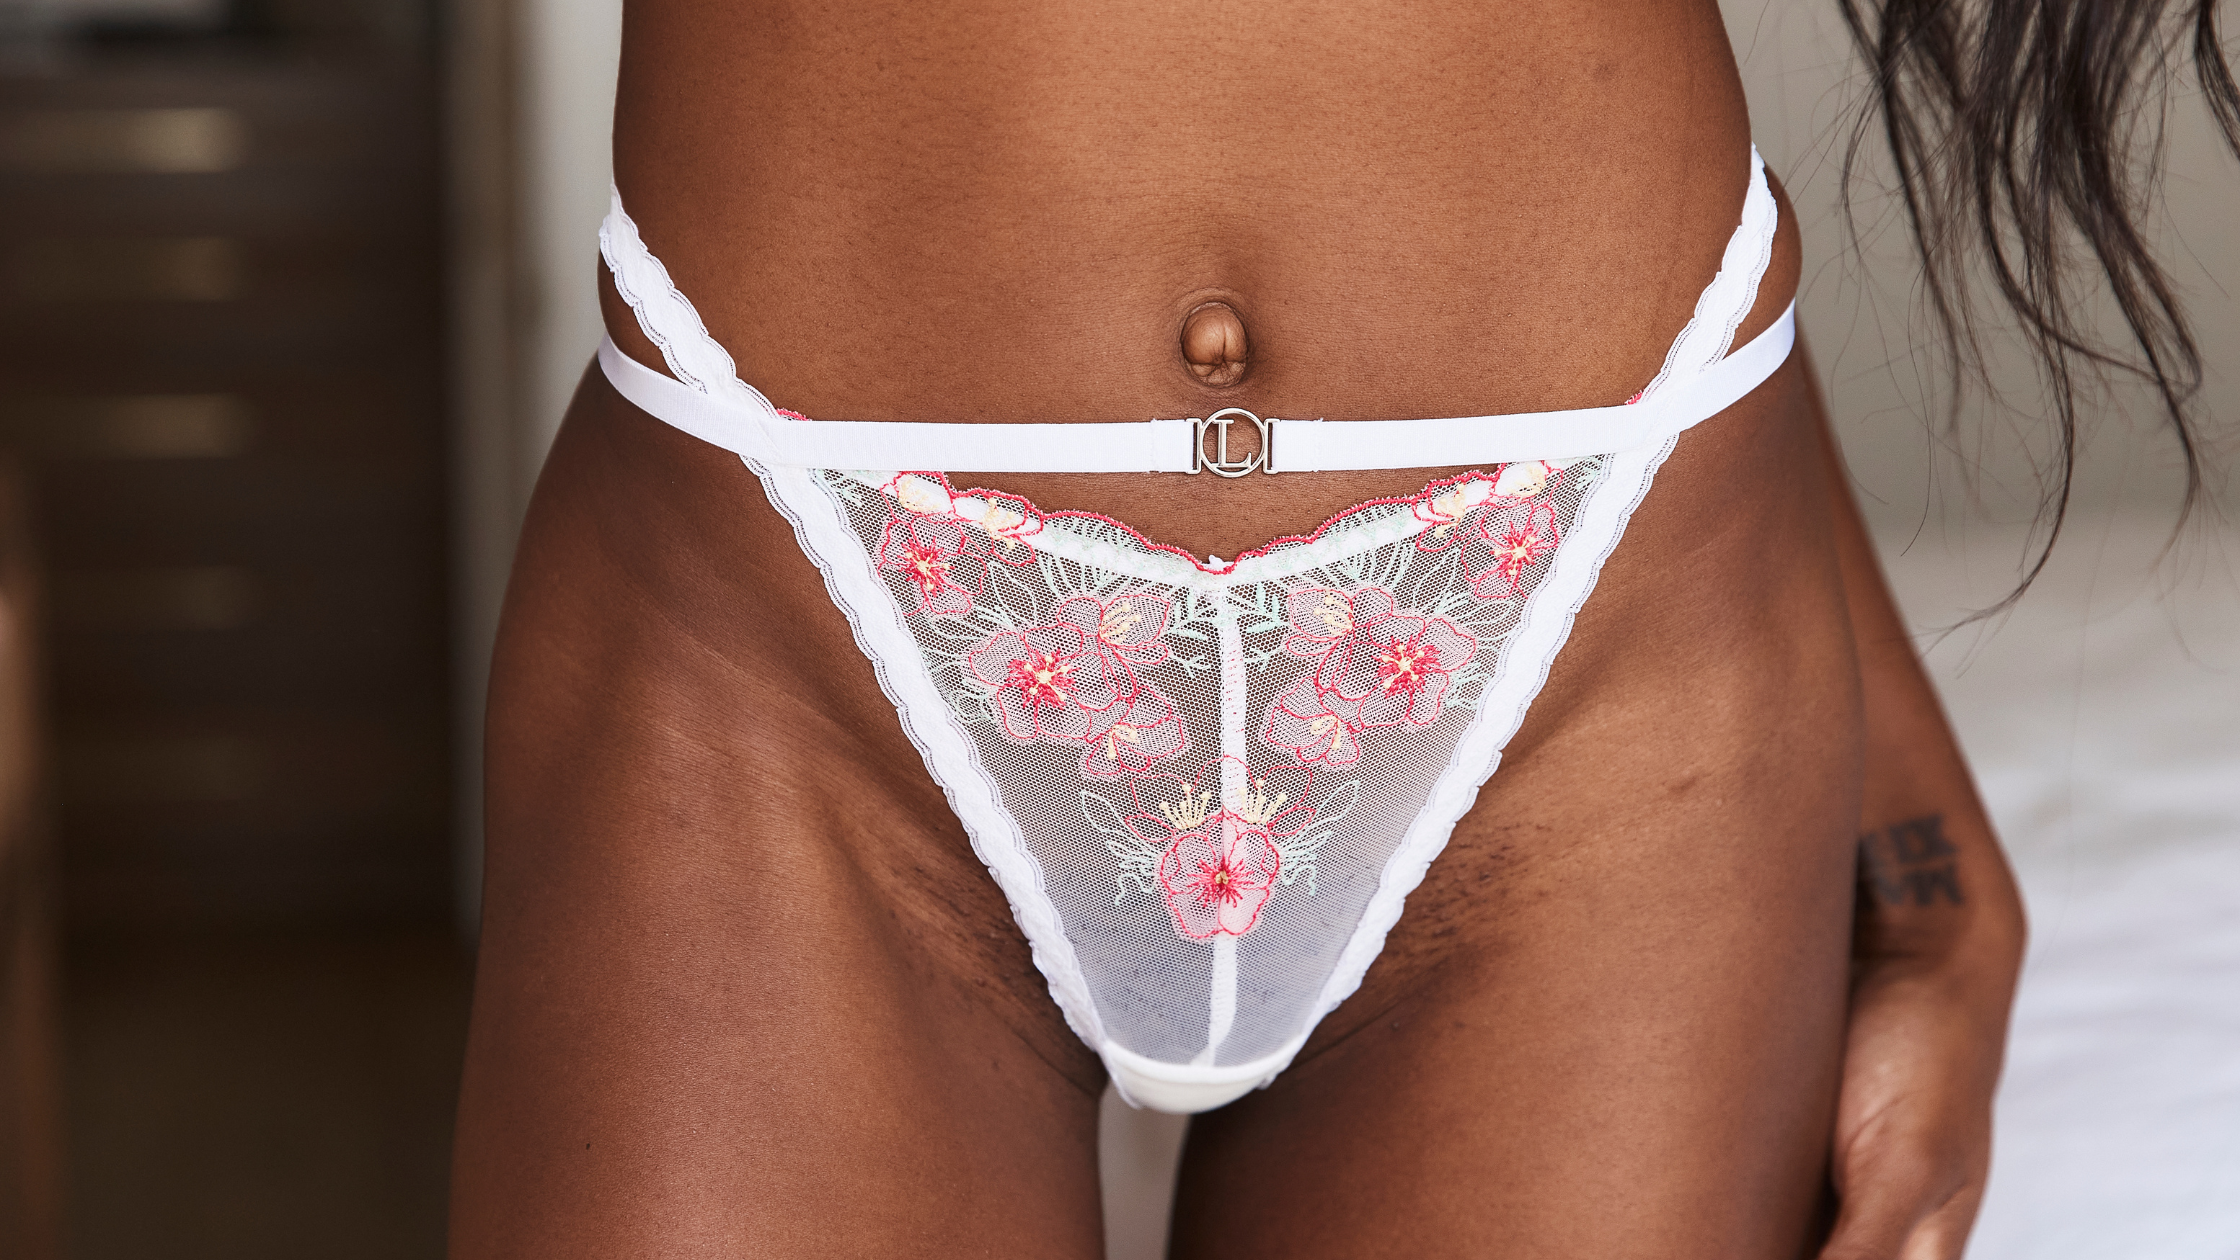
Breathable Is Best
This is the last step… and perhaps the most important one.
Wearing the right underwear after you shave down there will reduce discomfort, rashes, and itching. So it’s really important to choose the right style.
Lucky for you, that’s where we come in ✨
Bamboo is moisture-wicking, antibacterial, wrinkle-resistant, and hypoallergenic, which makes it the perfect underwear material - especially when you’ve just shaved down there.
Our Bamboo Triangle collection has breathable bras, thongs, and briefs, and they’re all available in a range of colours and sizes.
The super-soft bamboo fabric in our Bamboo Triangle range is perfect as post-shave underwear - but don’t blame us if you end up with a pair for every day of the week…
Invest in the last step of your shaving routine and explore our full collection of thongs and bottoms. (Psst - the best post-shave products will have ‘Bamboo’ in their name.)
There you have it, Lounger - your complete step-by-step guide to shaving down there.
Remember to do what’s best for you and your body - don’t ever feel pressured to remove your hair if that’s not what you want to do. There’s room for every Lounger in our corner, always.
If you want to fill your drawers with the most comfortable, breathable, and supportive post-shave underwear, our Lounge Experts will be more than happy to help you out with some underwear drawer inspo.
Love, Lounge x